
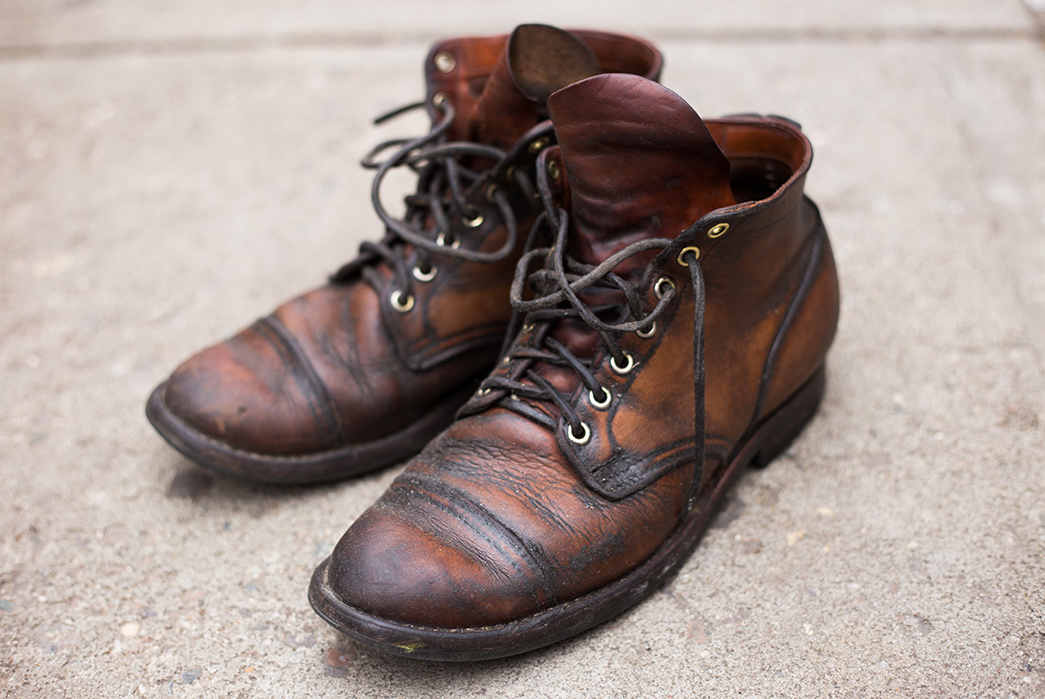
Do you have a pair of shoes that need some extra love and care? You don’t need to go out and buy a new pair! With DIY shoe repair techniques, you can easily revive and renew your favorite footwear. From simple cleaning to more advanced methods like patching or stitching, there are plenty of ways to restore your shoes at home.
So get ready for a project – with the right supplies and know-how, you can bring your old kicks back to life.
Preparing Your Supplies
Before you start your DIY shoe repair journey, make sure to gather all the tools and supplies that you need. Start by making a checklist of what is required for each project.
Do some research online or in stores and get the best quality items available. Make sure to purchase extra supplies such as glue, tape, thread, etc.
, so that if something doesn’t go according to plan you can always try again. If possible, buy items that are easy to work with since this will save time and effort during the process of repairing shoes at home.
Additionally, think about purchasing a few specialized tools specially designed for shoe repairs such as pliers or scissors; these can help make the job easier and faster while providing a better outcome overall. Lastly, don’t forget safety gear like gloves when working with sharp objects!
Fixing Minor Damage
When it comes to fixing minor damage on shoes, DIY repair techniques are great options for those who want to save a few bucks. From scuffs and scratches to holes and worn-out soles, there’s no shortage of simple repairs that can be done at home with basic materials.
To start, treat any surface damage with leather conditioners or shoe polish. For more serious issues such as tears or loose heel counters, the use of adhesives is recommended – just make sure you get the right adhesive for the type of material your shoes are made out of so they don’t stain or discolor! Once all the necessary fixes have been applied, seal them in place using waterproofing spray for extra protection from wear and tear.
With a little bit of elbow grease and patience, even damaged shoes can look brand new again!
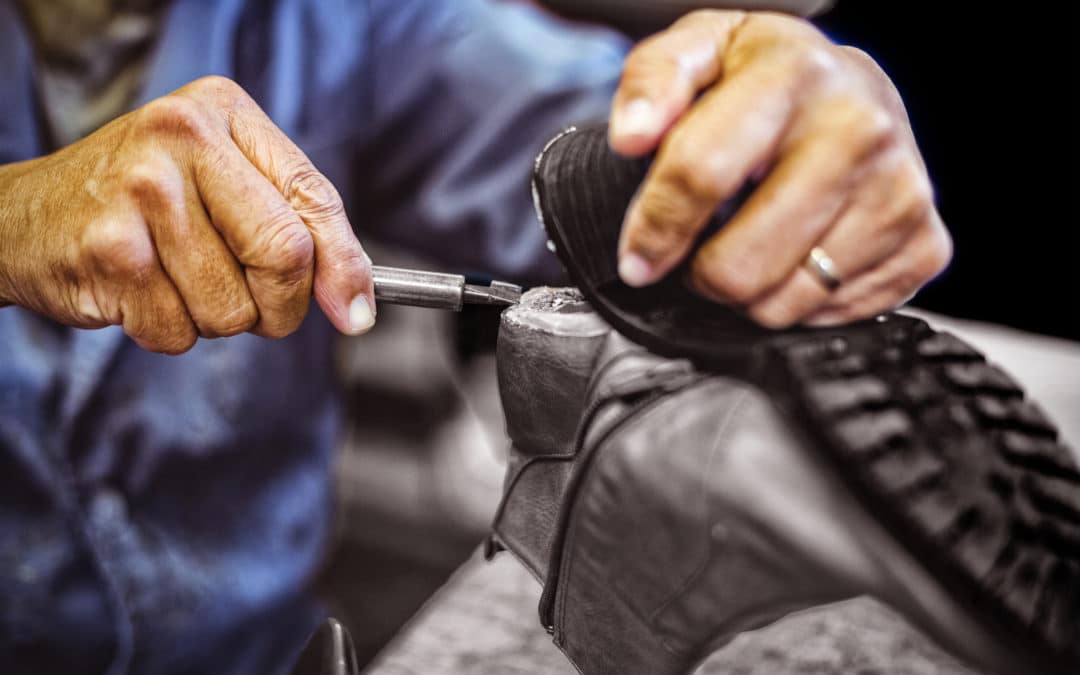
Resoling Shoes
For those looking to give their shoes a longer life, resoling is the perfect solution. Resoling involves replacing the worn-out soles of your shoes with a new material, typically rubber or leather. With an at-home shoe repair kit, you can easily provide your footwear with extra protection against wear and tear while extending its lifespan significantly.
It’s important to understand the different types of materials available for resolving so that you can choose the best option for your needs. Rubber soles are durable and long-lasting but may not be suitable for all kinds of shoes due to their thickness and weight.
Leather soles are thinner than rubber but offer more traction on slippery surfaces. Whatever material you decide upon, ensure it matches up correctly with your existing sole before applying it; otherwise any imperfections could cause discomfort when walking in them!
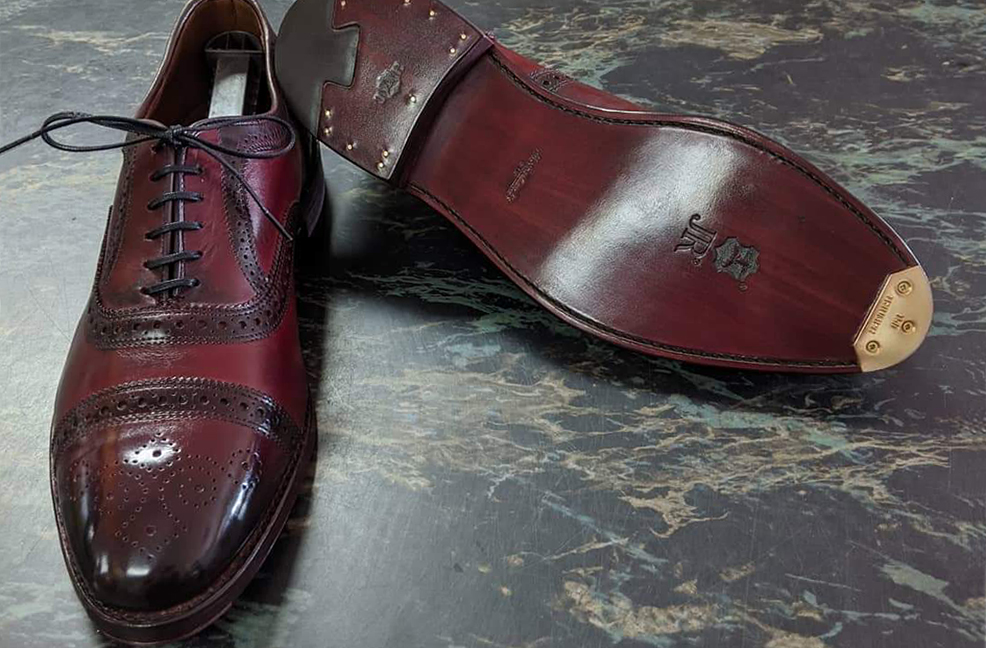
Applying Finishing Touches
Adding the finishing touches to a freshly repaired shoe can make all the difference. Whether youre painting, polishing, or lacing, these final steps can give your DIY repair job a professional finish.
Start by cleaning the entire surface with a cloth and soapy water to remove any dust or dirt that may have accumulated during the repair process. Once dry, use painter’s tape to mask off sections of the shoe if you plan on adding color accents such as designs or sports team logos.
Finish up by adding shoelaces for secure closure and buffing out any scuffs and scratches before applying wax or polish for added shine. With just a few extra steps, you can transform an old pair of shoes into something special – one-of-a-kind footwear made by your own hands!
Tips for Professional-Looking Results
When it comes to shoe repair, the key is achieving professional-looking results. Here are a few tips to help you get that polished look:
1. Start with clean and dry shoes before beginning any repairs. This will ensure the best possible outcome from your efforts.
2. Carefully assess each shoe for damage before attempting any repair work. Make sure you have all of the supplies necessary to fix them correctly before starting on your project.
3. Use high-quality materials when making repairs – this includes adhesives, dyes, paints, and glues specifically designed for shoe repair projects. It may cost slightly more but will be worth it in terms of longevity and durability!
4. Take your time! Don’t rush through – remember that good things come to those who wait, especially when it comes to repairing shoes! Allow enough time so you can do a thorough job and end up with great-looking results every single time!
Conclusion
With a few simple tools and some effort, you can bring your favorite shoes back to life with DIY shoe repair techniques. Using products like Saphir or Shoe Goo can help restore leather, fix scuffs, replace worn soles, and more. Don’t let your beloved shoes fall into disrepair – revive and renew them yourself at home!